Dennis Maina
Published on 11th August, 2022 (3 years ago) ● Updated on 15th July, 2023
How to set up a proxy server in Kali Linux
(4 minutes read)
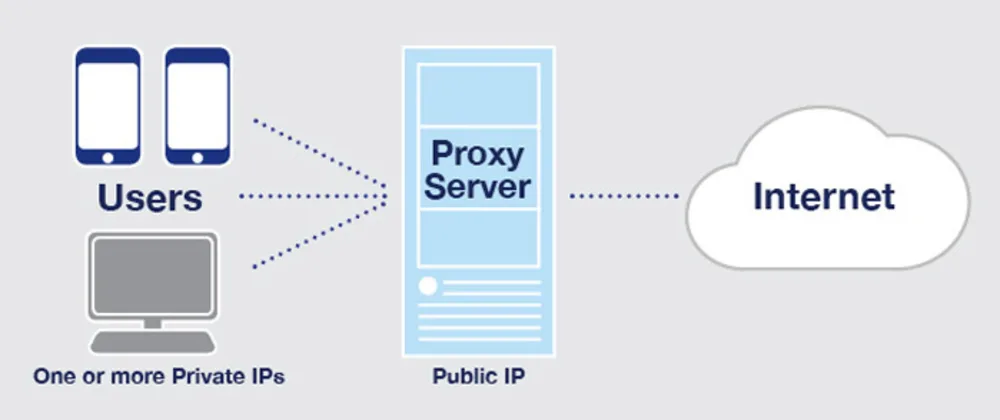
Kali Linux is a powerful and widely used penetration testing and ethical hacking platform that offers a plethora of tools and features. One such feature is the ability to set up a proxy server, which allows you to route your network traffic through an intermediary server, enhancing anonymity and security. In this article, we will guide you through the process of setting up a proxy server in Kali Linux.
We all hate it knowing that we are leaving our prints on the internet every time we surf. Or maybe you want to access a service that is not allowed in your location and you simply can't. This article will help you become anonymous on the internet and overcome some of those barriers. Let's have some fun.
Disclaimer: This article is purely for educational purposes only. I am not liable for any malicious intent done with this information.
Required tools
-
torproxychains
Proxychains is an open-source software and mostly comes pre-installed in Kali Linux. This tool redirects TCP connections through proxies like TOR, SOCKS4, and SOCKS5 and as the name suggests, it allows us to chain proxy servers. With this tool we can hide the source address of our traffic and evade IDS and Firewalls.
To install tor, run this command in your terminal.
sudo apt install torTo install proxychains, run this command.
sudo apt install proxychainsNext, we're going to edit the procychains configuration file.
You can edit this using your favorite text editor. In our case, we're going to be using nano editor which runs in the terminal.
On your terminal type,
sudo nano /etc/proxychains.confAfter opening the file, we need to do a few changes;
To enable a functionality, remove the '#' at the beginning of that line, and to disable add a '#' at the beginning of that line.
-
- Look for the line with dynamic_chain and enable it.
- Look for the line with strict_chain and disable it.
- Look for the line with proxy_dns and enable it.
- Look for the line with Proxy DNS requests - no leak for DNS data and enable it.
- Add tor socks5 at the end.
Now, your file should look something like this.
# proxychains.conf  VER 3.1
#
# HTTP, SOCKS4, SOCKS5 tunneling proxifier with DNS.
#

# The option below identifies how the ProxyList is treated.
# only one option should be uncommented at time,
# otherwise the last appearing option will be accepted
#
dynamic_chain
#
# Dynamic - Each connection will be done via chained proxies
# all proxies chained in the order as they appear in the list
# at least one proxy must be online to play in chain
# (dead proxies are skipped)
# otherwise EINTR is returned to the app
#
#strict_chain
#
# Strict - Each connection will be done via chained proxies
# all proxies chained in the order as they appear in the list
# all proxies must be online to play in chain
# otherwise EINTR is returned to the app
#
#random_chain
#
# Random - Each connection will be done via random proxy
# (or proxy chain, see  chain_len) from the list.
# this option is good to test your IDS :)

# Make sense only if random_chain
#chain_len = 2

# Quiet mode (no output from library)
#quiet_mode

Proxy DNS requests - no leak for DNS data
proxy_dns
# Some timeouts in milliseconds
tcp_read_time_out 15000
tcp_connect_time_out 8000

# ProxyList format
#       type  host  port [user pass]
#       (values separated by 'tab' or 'blank')
#
#
#        Examples:
#
#               socks5  192.168.67.78   1080    lamer   secret
#               http    192.168.89.3    8080    justu   hidden
#               socks4  192.168.1.49    1080
#               http    192.168.39.93   8080
#
#
#       proxy types: http, socks4, socks5
#        ( auth types supported: "basic"-http  "user/pass"-socks )
#
[ProxyList]
# add proxy here ...
# meanwile
# defaults set to "tor"
socks4  127.0.0.1 9050
socks5 127.0.0.1 9050
Now save the changes by pressing CTRL + O then ENTER followed by CTRL + X to exit.
SOCKS is an internet protocol that routes packets between a server and a client using a proxy server.
127.0.0.1 is the loopback IP address.
9050 is the port by default TOR listens on for proxy connections.
Finally, start the tor service by running this command:
service tor startTo check the status of the service, run
service tor statusAfter starting TOR, run the following command to start proxychains
proxychains firefox www.duckduckgo.comAnd in the browser tab opened visit https://dnsleaktest.com/ to do a DNS Leak Test.
The good thing about proxychains is that it dynamically changes your IP address without leaking your DNS
And Boom! I'm in the US.

In need of a developer for a project? Hit Us Up DentriceDev Solutions
Happy Coding.
Comments (0)

Domain Name Registration & Hosting
HostPinnacle Kenya is the best and cheapest web hosting company in Kenya with world-class web hosting packages and affordable web design offers. Apart from that we offer free life-time SSL certificate, affordable domain registration in Kenya and free whois privacy. We have an award-winning support team available 24/7/365 to help you with your queries.

Ready to Elevate Your Digital Presence?
Whether you're looking to launch a cutting-edge mobile app, revamp your website with sustainable web design, or harness the power of AI and digital marketing to outshine your competition, we're here to turn your vision into reality. At DentriceDev, we blend innovation, expertise, and passion to deliver digital solutions that drive results. Don't let your business get left behind in the digital revolution. Reach out to us today, and let's create something remarkable together. Connect with us directly at info@dentricedev.com, give us a call or WhatsApp at +254 757 927190, or simply fill out our contact form to get started. Your digital future awaits, and we're excited to be part of your journey!